The feet we stand on, which carry us all day, tend to become stiff due to reasons such as walking, weather conditions and lack of care. With regular care and pedicure, you can have soft and beautiful-looking feet. So what is a pedicure and how is a pedicure done?
You can easily make your own pedicure by gathering together a few materials you need and learning the tricks of the right pedicure.
What is pedicure?
Derived from the Latin words “pedis” meaning “foot” and “cura” meaning “care”, pedicure can be defined as a cosmetic treatment of the feet. Pedicure is not just about applying nail polish. It is actually a comprehensive foot care and can be done for both men and women. The pedicure process includes trimming, trimming and shaping toenails, grooming cuticles, exfoliating, moisturizing and massaging the feet, and applying nail polish if desired.
How long does a pedicure take?
Pedicures are done for therapeutic, medical and cosmetic reasons. Your feet are in the hustle and bustle of daily life; On your commute, shoes that don’t fit your feet take on too much when squeezing them out or on morning runs. Getting a pedicure can be a great way to pamper your feet. Alternatively, you can take time to sit back, relax or meet up with friends by getting a pedicure at professional centres.
A basic pedicure takes about 30 minutes. But from time to time, this time can take about 1 hour. Pedicure at home takes similar times.
What to put in water for pedicure?
In salons, cosmetics designed to soften the feet are added to the pedicure water. For pedicure at home, you can add baking soda, white vinegar, lemon juice to your foot bath. You can rest your feet in warm water for 20 minutes and soften them.
How To Do Pedicure? Pedicure at Home in 6 Steps
What are pedicure supplies?
Before doing a pedicure at home , remember that you should have all the materials you need for good foot care .
- nail polish remover
- Foot file or pumice stone, nail file and pedicure scissors (Pedicure set for short)
- foot cream
- Nail varnish
- pedicure basin
Step 1: Prepare your nails
You can start by cleaning your old nail polish well. If you use products such as paper towels and napkins other than cotton, these can abrade your nails. Therefore, be careful to use cotton.
Step 2: Prepare pedicure water
It’s great if you have a pedicure tub at home. Or you can sit on the edge of the tub or use something similar to a bucket you find at home. Fill it with warm water. You can add some sea salt, lavender oil or any natural oil of your choice to the water. Keep your feet in the water for 10-15 minutes and let them relax and soften.
Step 3: Exfoliate
Now your feet have softened and become suitable for exfoliating. This stage is one of the most important stages of pedicure. After you take your feet out of the water and dry them with a towel, apply some Vaseline Original Gel Cream to your cuticles and let it sit. Scrub your soles and heels thoroughly with a pumice stone. If you wish, you can also prepare your own foot peeling with the materials at home . This will also help remove the dead skin on your feet.
- 1/2 cup of salt
- 1/3 cup pure coconut oil
- 1 drop of peppermint essential oil
- 1 drop of grapefruit essential oil
Combine all ingredients in a bowl and mix well. Apply to the upper and lower parts of your feet by rubbing in circular motions.
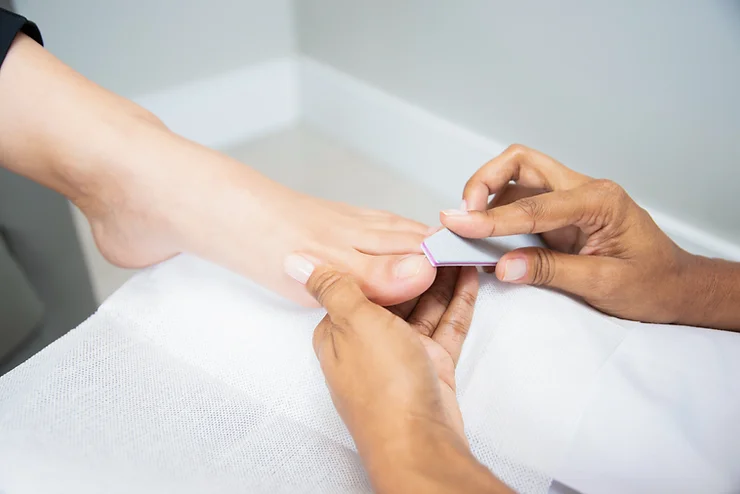
Step 4: Trim and file your nails
Cleanse the dead skin by putting your feet back in the water. Rub the Vaseline on your nails into the cuticles and push the cuticles back with a cuticle pusher. Do not cut, you may cause your nails to become infected. After pushing your cuticles back, if your nails are too long, you can cut them or shape them with a nail file.
Step 5: Massage
We’re almost at the final stage. Apply Vaseline Original Gel Cream to the top of your feet and massage thoroughly, including your heels, to increase blood circulation and moisturize your feet. Massage, which is one of the most enjoyable steps of pedicure, will also help you feel good. Don’t skip your toes at this point, either. Putting some pressure on the toes will increase your body’s energy.
Step 6: You can move on to nail polishes
After completing all the maintenance and moisturizing your feet thoroughly, you can start applying your nail polish by putting cotton between your toes. Separating your fingers from each other with cotton will prevent the nail polish from smearing and spoiling. Now you can proceed to the decoration. Paint them with a color of your choice and always apply a base coat. Let it dry and then apply another coat of nail polish. Allow it to dry completely before applying the next coat. This will make your nail polish last longer. Finally, you can spice up your feet with a beautiful anklet or toe ring.
